

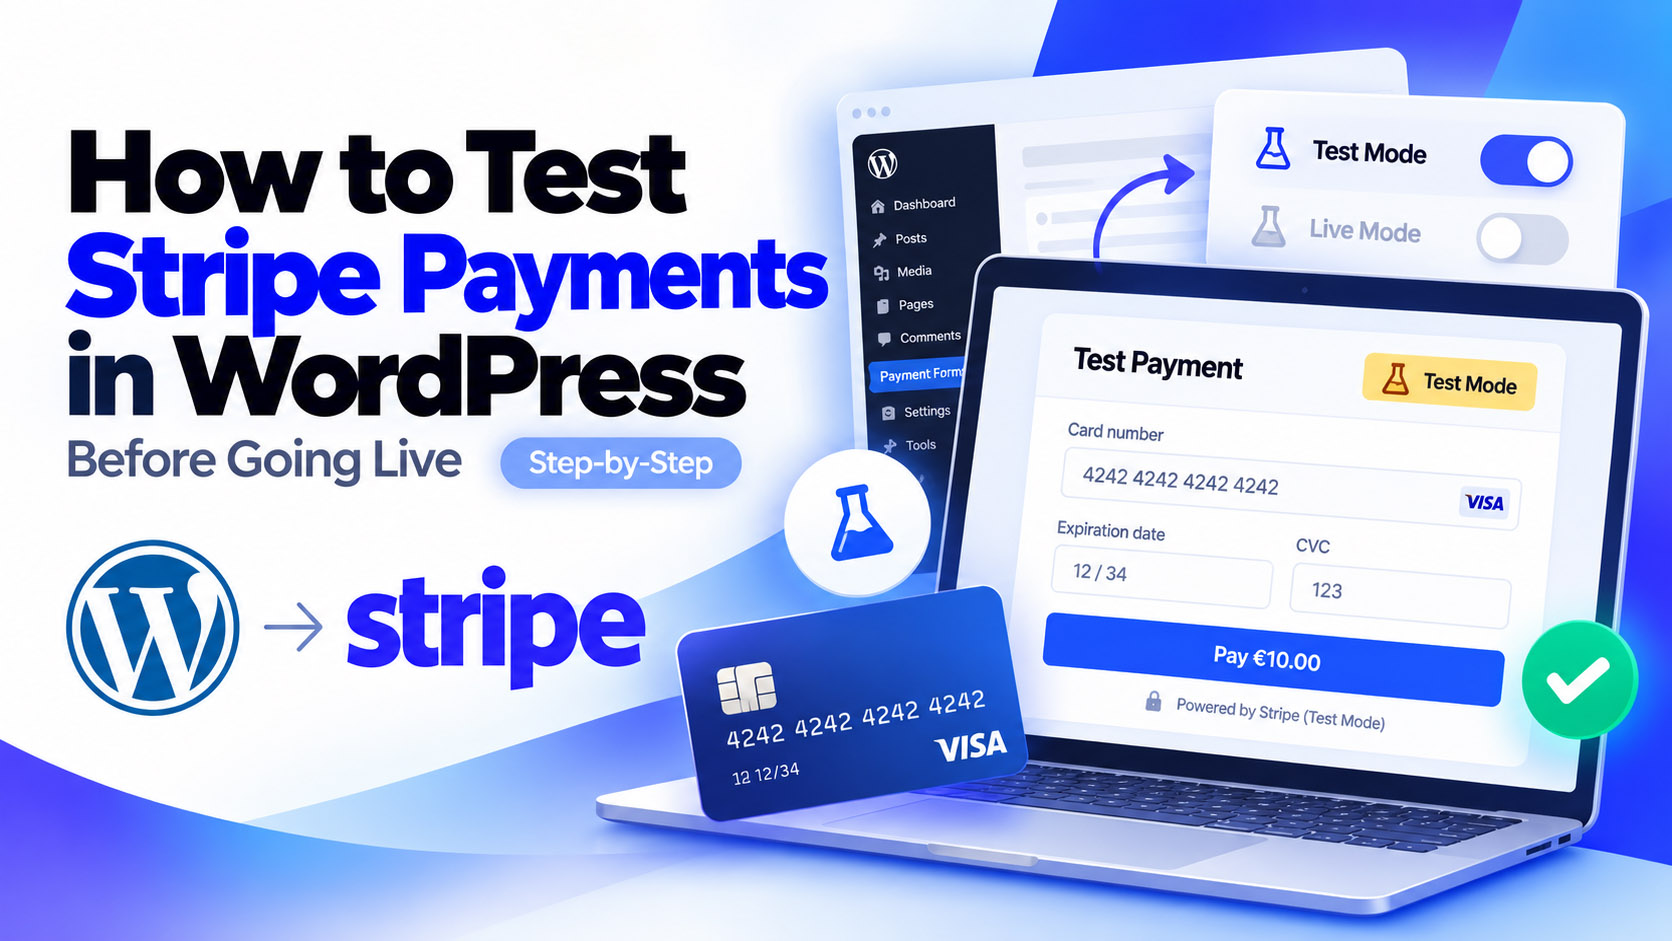
Before accepting your first real payment, make sure your WordPress payment form works as expected. This step-by-step guide explains how to test Stripe payments in WordPress, use Stripe test cards, verify transactions, and prepare your checkout for launch—without charging a real customer during testing.
A payment form may look perfect on your website, but that does not necessarily mean the entire payment flow is ready. An incorrect connection, a confusing confirmation page, or a failed checkout can interrupt a customer’s purchase. Testing helps you identify these issues before they affect real transactions.
If you are still deciding how to accept payments, start with our guide to accepting Stripe payments in WordPress without WooCommerce. If your payment form is already set up, follow the checklist below.
Why You Should Test Stripe Payments Before Going Live
Testing is more than checking whether a payment button responds. It means following the same journey your customers will take—from opening a payment form to receiving a confirmation—and checking that each step behaves correctly.
A useful pre-launch test should answer several questions:
- Can visitors open the payment form on desktop and mobile?
- Does the form display the correct product, campaign, currency, and amount?
- Can a customer complete a successful checkout?
- What happens if a payment is declined or the customer abandons checkout?
- Can you find the resulting test transaction in Stripe?
- Does the customer see an understandable success or failure message?
Finding these issues in a test environment is preferable to discovering them after a real customer attempts to pay. This is especially important for donation pages, service payments, and other forms where visitors may not return to try again.
What Is Stripe Test Mode?
Stripe test mode is a testing environment that lets you simulate payments without moving real money. Stripe provides test payment methods and a separate view of test transactions so you can check your integration before processing live payments.
Test Mode vs. Live Mode
- Test mode: Simulates payment activity using Stripe test credentials or an integration’s supported test connection. No real customer funds are charged.
- Live mode: Processes actual payments through your live Stripe account. Real charges, processing fees, refunds, and operational responsibilities can apply.
These environments are separate. A successful test payment does not appear as a real charge in your live transaction history. Likewise, a test card should not be used in a live checkout.
Important: Your WordPress plugin must be connected to Stripe’s testing environment for a test-card payment to work. Simply entering a test card into a live payment form will not turn that transaction into a test.
What You Need Before Testing
Prepare the following before starting:
- A working WordPress website with administrator access.
- A Stripe account that you can access.
- A Stripe-compatible WordPress payment plugin, such as Easy Stripe Payments & Donations.
- A payment form or a draft page where you can safely test the checkout.
- A supported test-mode connection or configuration for your particular plugin version.
For a detailed introduction to creating a form, see how to create a Stripe payment form in WordPress. The guide below focuses on testing the payment flow after the form has been created.
Step 1: Check Your Stripe Connection
Confirm That Your Plugin Is Connected to the Correct Environment
Open your WordPress dashboard and locate your payment plugin’s Stripe connection or settings area. The exact menu labels depend on the plugin and version you use.
- Check that your Stripe account is connected to the plugin.
- Determine whether your plugin offers a test-mode option, a test connection, or separate test credentials.
- Follow the plugin’s documented method for using Stripe’s test environment.
- Before proceeding, confirm that the payment form you will test is using that test environment—not your live Stripe connection.
Do not guess: If you cannot find a supported test-mode setting, check the plugin documentation or contact its support team. Do not paste secret API keys into a public page, and do not assume that enabling test mode in the Stripe Dashboard automatically changes your WordPress plugin’s connection.
Step 2: Create or Prepare Your Stripe Payment Form
Check the Form Before You Submit a Test Payment
Choose a form that represents a real payment scenario, such as a product purchase, service payment, or one-time donation. Use a clear description and an amount that is easy to recognize in the test transaction list.
- Open the payment form configuration in WordPress.
- Review the title, description, currency, and amount.
- Place the form on a test page using the method supported by your plugin.
- Open the page as a visitor and check the form layout on both desktop and mobile.
For example, if your Easy Stripe Payments & Donations form uses a shortcode, it may look like this:
[espad_payment_form id="1"]Replace 1 with your actual form ID. A shortcode embeds a form; it does not itself enable Stripe test mode.
If you are testing a donation form, also check that the donation description and any displayed amounts are correct. Our WordPress Stripe donations guide explains the broader setup process.
Step 3: Make a Test Payment With a Stripe Test Card
Simulate a Successful Card Payment
Once your integration is confirmed to be in test mode, open your test checkout and use a Stripe-provided test card. A commonly used test card for a successful Visa payment is:
- Card number:
4242 4242 4242 4242 - Expiration: Any valid future date in the test environment.
- CVC: Any three digits, when requested.
- Other details: Supply valid-looking test values if the form requires them.
- Open the test payment page.
- Start checkout and confirm the amount and currency.
- Enter the test card details in the Stripe-hosted or Stripe-powered payment fields.
- Complete the checkout and observe the result.
A successful test should follow your integration’s configured confirmation flow. This may be a success page, a checkout confirmation, or another supported message. The exact experience depends on the payment integration.
Security tip: Use only official Stripe test card details in the test environment. Never use a customer’s real card details to run a routine pre-launch test.
For additional test cards and scenarios, refer to Stripe’s official testing documentation.
Step 4: Verify the Test Payment in Stripe
Check the Transaction, Not Just the Success Screen
Seeing a success message is encouraging, but you should also confirm the transaction in Stripe.
- Sign in to the Stripe Dashboard.
- Switch to the appropriate test or sandbox view for the environment you used.
- Find the test payment in the payments area.
- Compare the amount, currency, status, and available payment details with what you submitted.
- Return to WordPress and confirm that any expected confirmation or post-payment behavior occurred.
If your integration uses webhooks or other post-payment processing, verify that the required events were received and handled correctly. A successful charge in Stripe does not necessarily prove that every WordPress-side action completed.
What success looks like: The transaction appears in the correct Stripe test environment, the amount matches, and the visitor sees the intended confirmation. Any additional plugin-specific behavior should also be checked.
Step 5: Test Declined Payments and Canceled Checkouts
Make Sure Errors Are Handled Clearly
Successful payments are only one part of a reliable checkout. Customers can enter incorrect details, have a card declined, or leave the checkout before completing a payment.
- Use an official Stripe test card or testing scenario that simulates a declined payment.
- Check whether the customer sees a clear error message and can try again where supported.
- Start another test checkout and cancel or leave before paying.
- Confirm that an incomplete checkout is not presented as a successful payment.
- If your setup supports additional payment methods or authentication flows, test the relevant scenarios described in Stripe’s documentation.
Some integrations handle retries, redirects, or failed payments differently. Evaluate the behavior your own plugin actually supports rather than assuming every Stripe feature is automatically available.
Step 6: Switch From Stripe Test Mode to Live Payments
Once your test transactions and checkout behavior look correct, you can prepare to accept real payments. Switching to live mode is not simply a matter of changing the card number: your WordPress integration must use the correct live Stripe connection.
Prepare Your Live Checkout
- Make sure your Stripe account is ready to accept live payments and any required account verification is complete.
- Use the plugin’s documented process to connect or switch to the live Stripe environment.
- Confirm the correct live account, form settings, currency, and prices.
- Check that your website uses HTTPS and that your payment page loads correctly.
- Review the success and cancellation experiences, customer-facing policies, and any necessary email notifications.
- Publish the payment page only when you are confident it points to the intended live checkout.
Optional live verification: If you decide to perform a small real payment, remember that it is an actual transaction. Processing fees may apply, and a refund may not return all fees. A live payment is not a substitute for proper test-mode testing.
Common Stripe Testing Problems and How to Fix Them
My Stripe Test Card Is Being Declined
First, verify that the checkout is truly connected to Stripe’s test environment. A test card will not work in a live checkout. If you are already in test mode, verify the card details and check the payment’s error information in Stripe.
The Payment Form Does Not Appear
Confirm that the form exists, the shortcode or embed method is correct, and the page has been saved. Review plugin settings and look for JavaScript errors or conflicts if the form remains missing. If you use a shortcode, make sure its form ID is valid.
The Checkout Succeeds, but I Cannot Find the Payment
Check that you are viewing the correct Stripe account and test environment. Also compare the transaction time and amount. If your plugin connects to more than one account, confirm which account was used for the test.
The Customer Does Not See a Confirmation
Review the configured return or success behavior for your payment flow. Check for redirect problems, unpublished pages, or integration-specific settings. Then repeat the test and verify the payment status directly in Stripe.
Everything Worked in Test Mode, but Live Payments Fail
Test and live environments use different credentials or connections. Verify your live Stripe account status, plugin connection, enabled payment methods, and checkout settings. Inspect Stripe’s error details rather than assuming the test-mode setup carries over automatically.
Pre-Launch Stripe Payment Testing Checklist
- Confirm the correct Stripe account and test environment.
- Verify the form title, currency, amount, and mobile layout.
- Complete at least one successful test payment.
- Confirm the transaction in Stripe’s test view.
- Test a declined payment and a canceled checkout.
- Check confirmation messages and any supported post-payment actions.
- Verify the live Stripe connection before publishing.
- Review pricing, fees, policies, and customer support information.
Frequently Asked Questions About Testing Stripe Payments
Can I test Stripe payments in WordPress without charging a real card?
Yes. When your WordPress integration is correctly connected to Stripe’s test environment, you can simulate supported payments using Stripe test payment methods without moving real money.
Does Stripe test mode use real money?
No. Test-mode payments are simulated and do not charge real customer funds. Always confirm that the payment form is actually using the test environment before entering test details.
Can I use a Stripe test card on a live WordPress checkout?
No. Stripe test cards are intended for Stripe’s test environment, not for live transactions.
What is the most common Stripe test card number?
Stripe commonly documents 4242 4242 4242 4242 for simulating a successful Visa card payment in a supported test environment. Refer to Stripe’s current documentation for additional test scenarios.
Will successful test payments appear in my live Stripe balance?
No. Test transactions belong to the testing environment and do not become real payouts or live account funds.
Do I need WooCommerce to test a Stripe payment form?
Not necessarily. A standalone Stripe-compatible WordPress payment plugin can provide a payment form without requiring a WooCommerce store. The testing steps depend on the integration you choose.
Does testing guarantee that every live payment will succeed?
No. Testing can reveal configuration and checkout issues, but real payments may still fail because of issuer declines, authentication requirements, network problems, or other live conditions.
Final Thoughts: Test First, Then Accept Real Payments
Testing Stripe payments in WordPress is an essential step before launching a new checkout or donation page. Start with a correctly configured test environment, submit a successful test payment, verify the transaction in Stripe, and then check how your website handles declined or canceled payments.
When your test flow is reliable, review the live connection and customer-facing experience before publishing. A careful pre-launch check helps you catch avoidable issues and gives visitors a smoother way to pay.
Need help building your form first? Read our step-by-step Stripe payment form tutorial.