

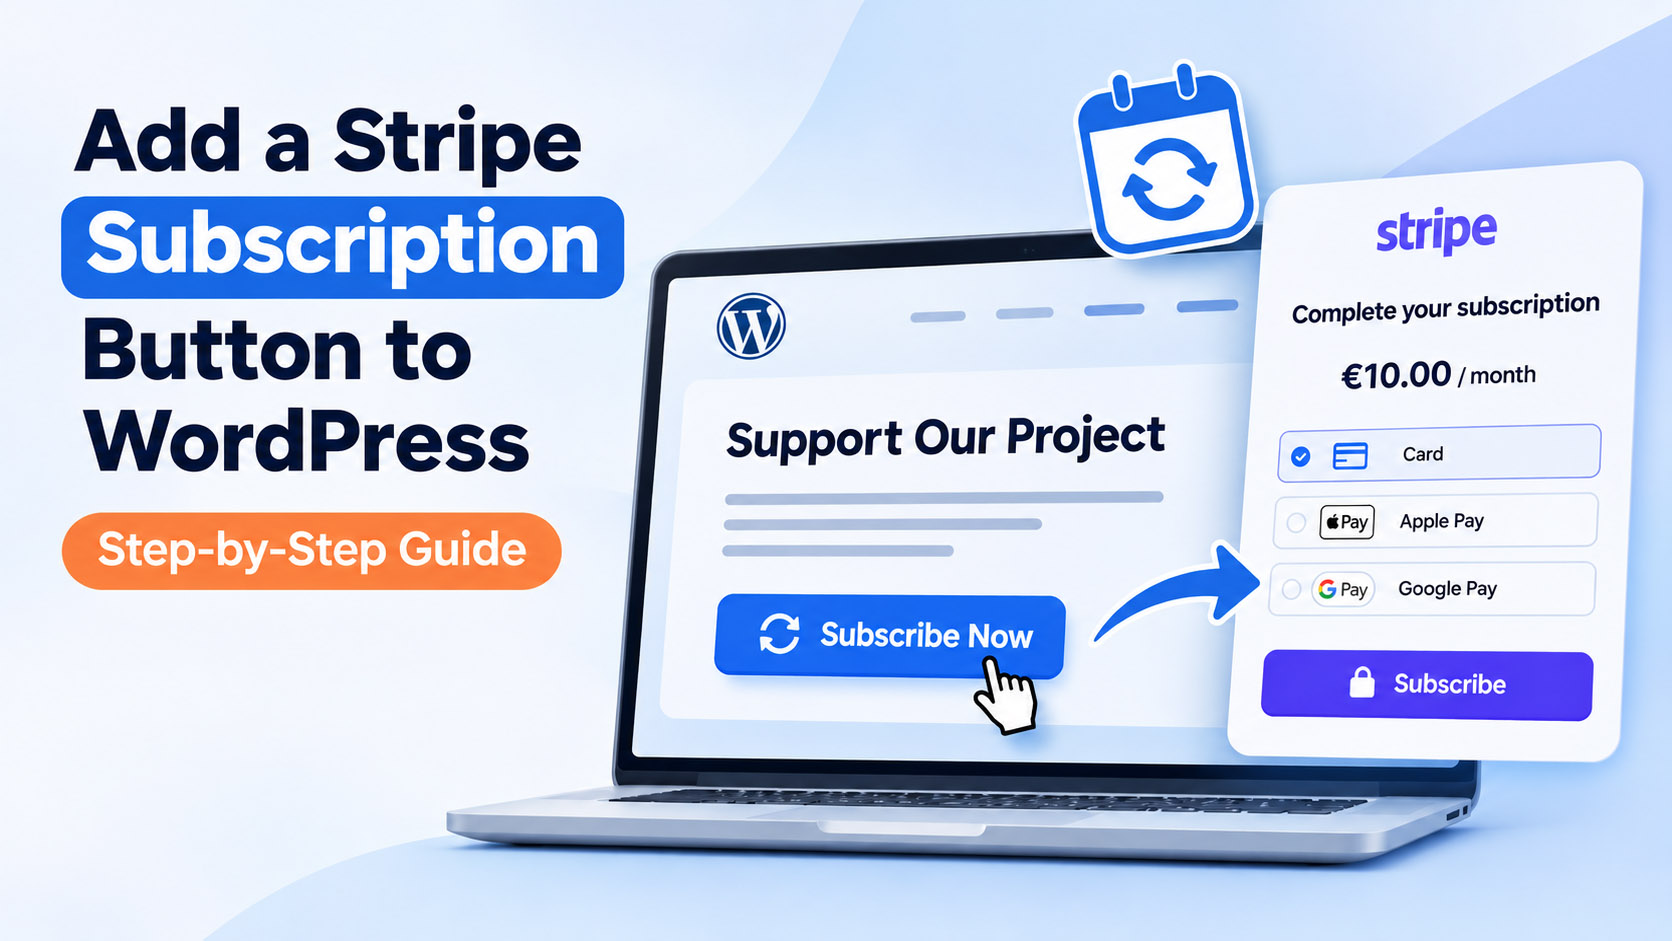
Want to accept recurring payments on your WordPress website without setting up a full online store? A Stripe subscription button can send customers from your website to a secure, Stripe-hosted checkout page, where they choose an available payment method and subscribe. This guide explains how to set up that flow with Easy Stripe Payments & Donations, what to test before launch, and how to avoid common subscription mistakes.
Important: In Easy Stripe Payments & Donations, the Subscription Button is specifically for recurring subscriptions—not a general-purpose button for one-time purchases. The customer completes checkout on a Stripe-hosted page.
What Is a Stripe Subscription Button?
A Stripe subscription button for WordPress is a button that starts a recurring-payment signup. Instead of collecting card details inside the WordPress page, the button takes the visitor to a checkout page hosted by Stripe. Once the customer completes the subscription checkout successfully, Stripe creates the subscription and handles its recurring billing lifecycle.
This makes a subscription button useful for services and offers that renew automatically—for example, monthly support plans, paid communities, or recurring access to a service. It is not the right choice when someone needs to make a single, non-recurring payment.
If you are new to accepting payments in WordPress, start with our broader guide to accepting Stripe payments in WordPress.
How Stripe-Hosted Subscription Checkout Works
1. A visitor clicks Subscribe on your website
The button appears on a WordPress page describing your subscription offer. The page should state the recurring price, billing interval, and what the customer receives before they click.
2. The customer is redirected to Stripe-hosted Checkout
The checkout itself is hosted by Stripe, rather than being an embedded payment form on your WordPress page. The customer reviews the purchase and chooses from the payment methods Stripe makes available for that checkout. Availability depends on factors such as your Stripe account, currency, location, and the payment method’s compatibility with subscriptions.
3. Stripe creates the subscription
After a successful subscription signup, Stripe creates a subscription record and manages subsequent billing according to the configured recurring price and payment settings. A successful redirect alone should not be treated as proof that every payment has been collected: check the subscription and payment status in Stripe.
4. Future billing is managed through Stripe
Stripe handles recurring invoices and payment attempts based on the subscription settings. Payment failures, cancellations, renewals, and any access changes still need appropriate handling by your business. If you provide member-only content or services, do not assume the button alone automatically grants or revokes access.
Why Use a Subscription Button in WordPress?
Less complexity than a full eCommerce store
If your main goal is to sell a small number of subscription plans, you may not need a complete WooCommerce catalog, shopping cart, and product-management workflow. A dedicated subscription entry point can keep your WordPress site focused on the offer.
A checkout page hosted by Stripe
Customers enter their payment information on Stripe’s hosted checkout page. You still need to configure your business details, legal terms, payment settings, and any applicable tax requirements correctly.
A clear recurring-payment experience
When the subscription price and billing interval are prominent, customers can understand the ongoing commitment before proceeding. A focused button is especially suitable for a single plan or a landing page with a clear call to action.
Centralized subscription records
Stripe’s Dashboard provides visibility into subscriptions, payments, invoices, and customer billing activity. This helps you monitor the lifecycle beyond the first signup.
What You Need Before You Start
- A working WordPress website and permission to install plugins.
- A Stripe account configured for the business and country where you operate.
- The Easy Stripe Payments & Donations plugin installed and activated.
- A subscription offer with a clearly defined amount, currency, and recurring interval.
- A page where visitors can review the offer, cancellation terms, and relevant policies.
- Time to test the complete checkout and renewal-related workflow before accepting real customers.
Payment method availability, supported currencies, tax settings, and any additional account requirements are determined by Stripe and your configuration. Review them before publishing the offer.
How to Add a Stripe Subscription Button to WordPress
The following walkthrough focuses on the plugin’s dedicated Subscription Button and its redirect to Stripe-hosted Checkout. It deliberately avoids treating the button as a one-time payment tool.
Step 1: Install Easy Stripe Payments & Donations
- Open your WordPress dashboard.
- Go to Plugins → Add New Plugin.
- Search for Easy Stripe Payments & Donations.
- Install and activate the plugin from the official WordPress directory.
You can also view Easy Stripe Payments & Donations on WordPress.org before installing it.
Step 2: Connect Your Stripe Account
- Open the plugin’s settings in WordPress.
- Locate the Stripe connection option.
- Follow the connection process presented by the plugin and Stripe.
- Confirm that the intended Stripe account is connected.
Use the appropriate test environment while configuring your subscription. Avoid publishing live payment links until you have completed your checks.
Step 3: Configure Your Subscription Button
Find the plugin’s Subscription Button feature and configure the recurring offer using the options available in your installed version. This feature is distinct from a one-time payment form.
- Choose or configure the subscription offer.
- Set the amount, currency, and billing interval using the available controls.
- Review the button’s displayed text and any checkout-related settings.
- Save the configuration.
Before continuing: verify that the offer really represents a recurring subscription, not a one-time charge. Menu labels and the precise configuration workflow can differ by plugin version; follow the fields shown in your dashboard.
Step 4: Place the Subscription Button on a WordPress Page
Use the embedding method provided by the plugin for your configured Subscription Button. If the plugin provides a shortcode, copy the actual generated shortcode rather than using a guessed shortcode or ID.
- Open the page where you describe the subscription plan.
- Add the appropriate WordPress block or Elementor widget for the plugin’s supported embed method.
- Insert the generated button embed or shortcode.
- Preview the page and confirm that the button is visible and clickable.
Place the button near the price and billing frequency. Do not hide material subscription conditions below the fold.
Step 5: Verify the Stripe-Hosted Checkout
- Click the subscription button on the preview or test page.
- Confirm that it redirects to the expected Stripe-hosted checkout page.
- Check that the business name, amount, currency, and billing interval are correct.
- Review the available payment methods for the checkout.
- Complete a test signup using Stripe’s supported test procedure.
The payment methods shown can vary by Stripe account settings, country, currency, and subscription support. Avoid promising every payment method to every customer.
Step 6: Confirm Subscription Creation and Go Live
- Open the relevant Stripe Dashboard environment.
- Locate the test customer and subscription record.
- Verify the subscription status, recurring price, and associated payment activity.
- Check the expected post-checkout customer experience, including any emails or access you manage separately.
- When ready, switch to the correct live configuration and repeat a careful end-to-end check.
For a more detailed testing workflow, see how to test Stripe payments in WordPress before going live. Remember that a subscription can be created while its initial payment requires further action or fails; inspect the actual Stripe status.
Best Use Cases for Recurring Payments
Monthly service retainers
A consultant or service provider can present a recurring monthly package and let customers sign up through a dedicated subscription page. Explain what is included and how the customer can cancel.
Ongoing support and maintenance plans
Website maintenance, monitoring, and other ongoing services can use a recurring subscription rather than repeated manual invoices. Keep the scope and service terms clear.
Paid communities or memberships
A subscription button can start the billing process for a membership. However, automatically creating a WordPress user account or controlling restricted content requires a separate, supported access-management workflow; do not assume the payment button supplies it.
Recurring supporter contributions
Some organizations collect ongoing support through recurring payments. If your primary goal is charitable donations, also read our guide to accepting donations in WordPress with Stripe and choose the plugin feature that best matches your fundraising setup.
Subscription Button vs. One-Time Payment Form
The difference is not just visual. These options serve different billing intentions.
Subscription Button: recurring billing
Use the plugin’s Subscription Button when the customer is signing up for a recurring plan. The customer leaves your WordPress page for Stripe-hosted Checkout, where Stripe creates the subscription after successful signup.
Payment form: another checkout use case
A payment form can be more suitable when you need a form-based purchase or collection flow. The actual billing options depend on the form feature you configure; do not assume a form and the Subscription Button behave identically.
For form-focused instructions, see how to create a Stripe payment form in WordPress.
Which one should you choose?
Choose the Subscription Button for an ongoing paid plan. For a single purchase, choose a separately supported one-time payment workflow instead. Be transparent about what the customer is agreeing to.
Best Practices for Subscription Checkout
Show the full recurring price
Clearly state the amount, currency, billing interval, and any introductory period or trial terms. Avoid a button label that makes a recurring payment look like a one-time purchase.
Explain cancellation and renewal terms
Customers should understand when payments renew, how they can cancel, and when cancellation takes effect. Link to the relevant terms and support contact information.
Make the button’s purpose explicit
Labels such as “Subscribe Monthly” or “Start Annual Subscription” are more informative than a generic “Pay Now” when recurring billing is involved.
Check the mobile journey
Preview the landing page on mobile and test the redirect to Stripe-hosted Checkout. The button should be easy to find, and key terms should remain readable.
Handle payment status correctly
Do not grant a service solely because a visitor returned to a success page. Confirm the actual subscription and payment status in Stripe, and use a reliable fulfillment workflow where access or service delivery depends on payment.
Plan for failed payments and cancellations
Define how you will contact customers, handle payment retries, and stop services when a subscription ends. Stripe billing settings and your own operations should work together.
Troubleshooting Common Subscription Button Problems
The button does not appear
Check that the plugin is active, the Subscription Button configuration is saved, and you used its supported embed method. If a shortcode is provided, copy it exactly and place it in the correct block or widget.
The button opens the wrong checkout
Verify that you selected the intended subscription configuration. Recheck the recurring price and currency before sharing the page.
The customer cannot see an expected payment method
Stripe determines eligible methods based on account and checkout conditions. Confirm that the method is enabled and supported for recurring billing in the relevant country and currency.
No subscription appears in Stripe
Check whether the checkout was completed, whether you are looking at test or live mode, and whether you are inspecting the correct Stripe account. Review the Checkout Session and payment events as appropriate.
A subscription exists but the first payment is not successful
Subscription creation does not always mean the first invoice has been paid. Check the subscription, invoice, and payment status in Stripe before delivering paid access.
Customers ask how to cancel
Provide a clear cancellation process based on the Stripe tools and customer support workflow you actually offer. Do not claim that the WordPress button automatically provides a customer self-service portal unless you have configured one.
Frequently Asked Questions
Can I add a Stripe subscription button to WordPress without WooCommerce?
Yes. Easy Stripe Payments & Donations provides a dedicated Subscription Button workflow, so you can use it without setting up a WooCommerce store.
Does the subscription button accept one-time payments?
No. In this plugin, the Subscription Button is specifically intended to start recurring subscriptions. Use a separate supported payment workflow for one-time payments.
Where does the customer enter payment details?
After clicking the button, the customer is redirected to Stripe-hosted Checkout, where they select an available payment method and complete the subscription signup.
Does Stripe automatically create the subscription?
The Stripe-hosted subscription checkout creates a subscription when the signup is completed. Always check the resulting subscription and payment status in Stripe.
Can customers choose their payment method?
They can choose among the payment methods Stripe makes available for that checkout. Availability depends on the account, currency, location, and subscription compatibility.
Can I place the button on an Elementor page?
Use the embed method supported by your plugin version. If it generates a shortcode, place that exact shortcode in an Elementor Shortcode widget and test the result.
Does the button automatically manage membership access?
Do not assume so. Stripe manages billing, but provisioning and removing access to WordPress content or services may require additional integration.
How can I test the subscription before launch?
Use Stripe test mode where supported, complete a test subscription signup, and verify the subscription and payment status in the correct Stripe Dashboard environment.
Can I use the subscription button for recurring donations?
A recurring subscription can represent ongoing support, but review the plugin’s dedicated donation features and your organization’s requirements before choosing a setup.
Final Thoughts
Adding a Stripe subscription button to WordPress is a practical way to offer recurring payments without building a full online store. With Easy Stripe Payments & Donations, the Subscription Button directs customers to a Stripe-hosted checkout page, where they can choose an eligible payment method and complete the subscription process.
The most important steps are to configure the correct recurring offer, explain the billing terms clearly, test the full redirect and checkout experience, and confirm the resulting subscription status in Stripe. Keep one-time payment forms and subscription signup flows separate so visitors always know what they are purchasing.